Ranger Tim Holtz Alcohol Inks
Introduction to Alcohol Ink Pearls
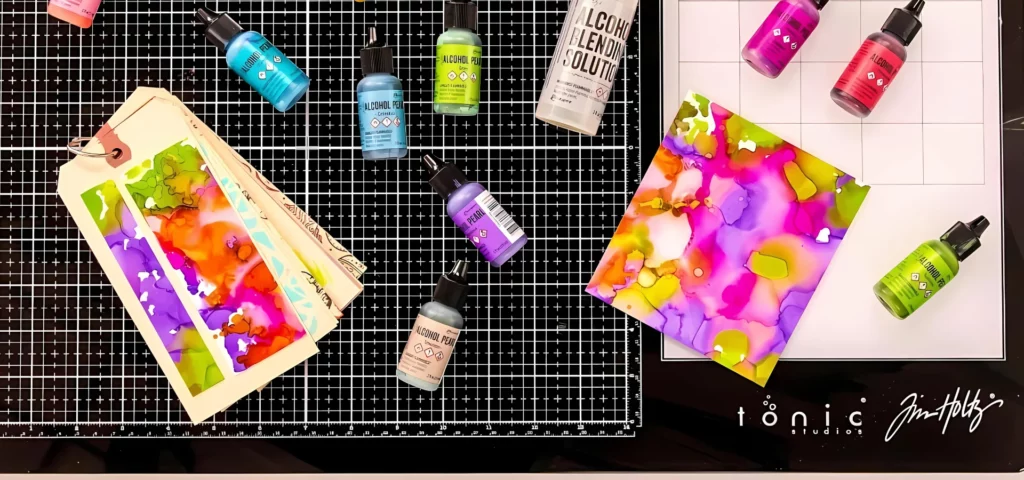
Ranger Tim Holtz Alcohol Ink Pearls are a glittering delight for any creative artist. These little bottles of joy come packed with the ability to transform your artwork into a shimmering masterpiece. The Alcohol Ink Pearls blend a mix of pigments and dyes, creating a pearlescent effect that will make your art sparkle and shine like never before.
But don’t just take our word for it. The folks at Ranger Ink have raved about their pearlescent colourful effects and fast-drying properties. These inks are particularly great for use on non-porous surfaces like YUPO paper, but they also work wonders on other specialty papers.
Unique Properties of Alcohol Ink Pearls
What sets the Alcohol Ink Pearls apart from the run-of-the-mill alcohol inks? Let’s dive into the unique properties that make these inks the prima donnas of the ink world.
Firstly, they’re permanent and fast-drying. This means you won’t have to sit around, twiddling your thumbs, waiting for your artwork to dry. You can get back to adding more layers of shimmer and glitz in no time.
Secondly, the pearlescent finish is to die for. The pigments in these inks are finely ground, providing a consistent shimmer that doesn’t clump or look uneven. This pearlescent glow can be particularly radiant on dark surfaces, adding a luminous effect to your creations.
Lastly, these inks come in nifty 14ml dropper tip bottles, making them super easy to use and store. The dropper tip allows for precise application, so you can add just the right amount of shimmer without any wastage. Feel free to mix and match these shimmering alcohol ink pearls with other inks to create unique shades.
Exploring Colour Options
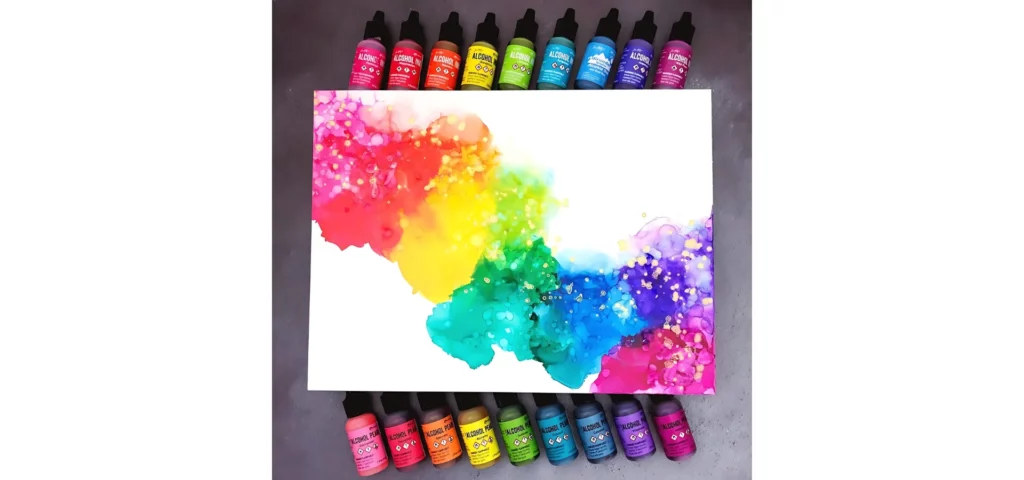
Welcome to the world of shimmering alcohol ink pearls, where colours are as dynamic as your imagination! Whether you’re creating a cosmic masterpiece or a softly glowing work of art, Ranger Tim Holtz Alcohol Ink Pearls provide an array of pearlescent hues that are sure to dazzle.
Mixing and Matching Pearlescent Colours
The magic of Ranger Tim Holtz Alcohol Ink Pearls lies in their versatility. Mixing and matching pearlescent colours can create unique, shimmering effects that bring your artwork to life. Here are some playful techniques to consider:
- Combining Shades: Mix a few drops of different pearlescent colours to invent custom hues. Want a cosmic shade? Try combining Intrigue with a dollop of Tranquil.
- Adding Chameleon Inks: For a pearlescent glow, add a few drops of Chameleon Inks to your diluted alcohol inks.
- Layering Techniques: Layering different pearlescent colours can add depth to your creations. For instance, use Sublime as a base layer and add Tranquil on top for an otherworldly effect.
When working with these shimmering shades, you might find it helpful to have a collection of additional supplies for working with alcohol ink pearls.
Ranger Tim Holtz Alcohol Ink Pearls open up a world of creativity with their shimmering hues and easy blending capabilities. Experiment with these vibrant shades and let your artistic visions shimmer and shine!
Application Techniques
When working with shimmering alcohol ink pearls, the application techniques can make a significant difference in the final result. Here’s a look at how to use these inks on non-porous surfaces and create stunning backgrounds.
Using Alcohol Ink Pearls on Non-Porous Surfaces
Shimmering alcohol ink pearls, particularly the Ranger/Tim Holtz range, are designed to add dazzling effects to non-porous surfaces such as metal, glass, and specialty paper like YUPO. Here’s how to get the best results:
- Clean the surface: Ensure the surface is free of dust and oils.
- Apply the ink: Dispense the ink directly from the dropper tip bottle in small amounts.
- Blend the colours: Use a felt applicator or airbrush to blend the colours for a smooth finish.
- Dry the ink: Allow the ink to dry completely. You can use a heat gun to speed up the process.
Creating Backgrounds with Alcohol Ink Pearls
Creating captivating backgrounds with alcohol ink pearls is a fantastic way to add depth and interest to your artwork. Here are some fun techniques to try:
- Drip and Tilt: Add a few drops of ink to the surface and tilt it back and forth to allow the ink to spread naturally. This technique works exceptionally well on non-porous surfaces and can create marbled effects.
- Straw Blowing: Place drops of ink on the surface and blow through a straw to spread the ink across the medium. This technique can create unique patterns and is especially effective for abstract backgrounds.
- Blending Solution: Apply a blending solution to the surface before adding the ink. This helps the colours merge seamlessly and creates a more polished look. Mixing the pearlescent inks with other types, like Chameleon Inks, can add a luminous effect.
- Layering: Start with a light colour and gradually add darker shades. This technique can give a sense of depth and richness to the background. Adding a few drops of different coloured inks can also achieve a stunning pearlescent glow.
Essential Tools and Materials
Creating captivating alcohol ink art with those shimmering Ranger Tim Holtz Alcohol Ink Pearls involves having the right tools and surfaces. For both beginners and seasoned artists, choosing the right essentials can make your experience a breeze or a blunder.
Recommended Surfaces for Alcohol Ink Art
The surface on which you apply your shimmering alcohol ink pearls dramatically influences the final outcome of your masterpiece. Here are some recommended surfaces:
Yupo Paper: This synthetic paper offers a smoother look with softer colour blends. It has the added charm of being wipeable and resistant to stains (Piece Of My Art). However, it tends to get stained by the inks over time.
Laminated MDF Boards: Famed for being wipeable and resistant to stains, they provide a heat-resistant, finished look suitable for multiple techniques (Piece Of My Art). They are, however, a bit posh on the pocket and limited in shapes and sizes.
Glossy Ceramic Surfaces: From tiles to pots, cups to plates, these offer a smooth, stain-resistant finish that’s ideal for coasters, nameplates, and decorative art. Mind you, they are breakable and need special care (Piece Of My Art).
Synthetic Paper: Options like Nara Papers, Beyond Inks, and Diy4U are popular for their smooth surface and versatility across different techniques. Plus, they come in various shapes, sizes, and thicknesses.
Canvases: Pre-primed canvases, are available in different shapes and sizes. They reduce ink absorption but need to be stretched or framed before use (Piece Of My Art).
Additional Supplies for Working with Alcohol Ink Pearls
Beyond surfaces, there are other essentials you’ll need to create magnificent alcohol ink art. These additional supplies can help bring your shimmering vision to life.
- Isopropyl Alcohol: Used to dilute and blend the inks, isopropyl alcohol is a must.
- Blending Solution: Helps to lighten the inks and create marbled effects.
- Brushes and Sponge Brushes: For more controlled application and intricate designs.
- Gloves and Aprons: Prevent staining your hands and clothing while working with the inks.
- Heat Gun: Useful for quick drying and achieving different effects by controlling the drying process.
- Silicone Mats: Provide a non-stick, easy-to-clean workspace.
- Masking Tapes: Helps to create precise designs and protect edges.
Tips and Tricks
When working with Ranger Tim Holtz Alcohol Ink Pearls, knowing the right tips and tricks can elevate your artwork to a whole new level. Whether you’re looking to enhance the durability of your art or mix Alcohol Ink Pearls with other inks, we’ve got you covered.
Mixing Alcohol Ink Pearls with Other Inks
Combining Alcohol Ink Pearls with other inks can add depth and dimension to your artwork. Here’s how to mix them effectively:
- Alcohol Ink Mixatives: Tim Holtz Alcohol Ink Mixatives are perfect for adding metallic effects to your pieces. These highly pigmented solvent-based inks can be combined with Alcohol Ink Pearls to create a shimmering, dynamic look.
- Blending Solution: To achieve a smoother blend of colors, use an alcohol blending solution. This helps in diluting the inks and allows for more controlled application and gradient effects. For a more fluid and dreamy appearance, add a few drops of blending solution to the ink on your piece.
- Layering Techniques: You can layer Alcohol Ink Pearls with traditional alcohol inks to create depth and luminous effects. Start with a base layer of standard alcohol ink, let it dry, and then add a layer of Pearls for a stunning contrast.
- Adhesion Promoter: If you’re working on difficult surfaces like plastic or metal, using an adhesion promoter can help the inks stick better and last longer.
Experimenting with these techniques can lead to spectacular results, adding that extra flair to your creations.
Inspiration and Creativity
Delve into the dazzling world of shimmering alcohol ink pearls and discover a realm brimming with artistic possibilities.
Project Ideas with Alcohol Ink Pearls
Venturing into creative endeavours with shimmering alcohol ink pearls can be a truly enriching experience. Here are a few project ideas that tap into the luminous potential of these enchanting inks:
- Alcohol Ink Coasters: Create a set of mesmerising coasters using glossy ceramic tiles. Experiment with vibrant pearlescent colours to create unique patterns. Exceptionally popular for these projects are the tiles available at stores like Piece Of My Art.
- Decorative Name Plates: Incorporate alcohol ink pearls into decorative ceramic name plates. The shimmering effect of the inks truly stands out, and you can personalise each piece with names or inspiring quotes.
- Abstract Wall Art: Use synthetic papers like Nara Papers or Beyond Inks to craft breathtaking abstract pieces. The smooth, non-absorbent surface ensures the inks retain their radiance. Visit Piece Of My Art for more on synthetic paper options.
- Customised Mugs and Plates: Decorate glossy ceramic mugs or plates with shimmering hues for gifts or personal use. Ensure they’re handled with extra care during storage and shipping to maintain their glossy charm.
- Greeting Cards: Create one-of-a-kind greeting cards with alcohol ink backgrounds.
Showcasing Finished Creations
Displaying your alcohol ink art can transform a space and spark endless conversations. Here are some fun ideas for showcasing your creations:
- Gallery Wall: Select your best work and frame them for a stunning gallery wall in your home or studio. Use a mix of sizes and shapes to add visual interest.
- Drinkware Display: Show off your custom-painted mugs and cups on a dedicated shelf in your kitchen. Not only do they look fabulous, but they also serve as functional art.
- Coaster Collection: Place your coasters in a decorative box or tray on your coffee table. They add a touch of sophistication and are easy to access.
- Online Portfolio: Share your journey and final pieces on social platforms or a personal website. Snap high-quality photos to capture the shimmering details and attract fellow artists and potential customers.
- Craft Fairs & Markets: Join local events to display and sell your artwork. Engage with the community, share your creative process, and gain valuable feedback.
Enjoy each moment, cherish the process, and let your artistic flair glow as brightly as your creations.