Acrylic Pouring Basics
Understanding Acrylic Pouring
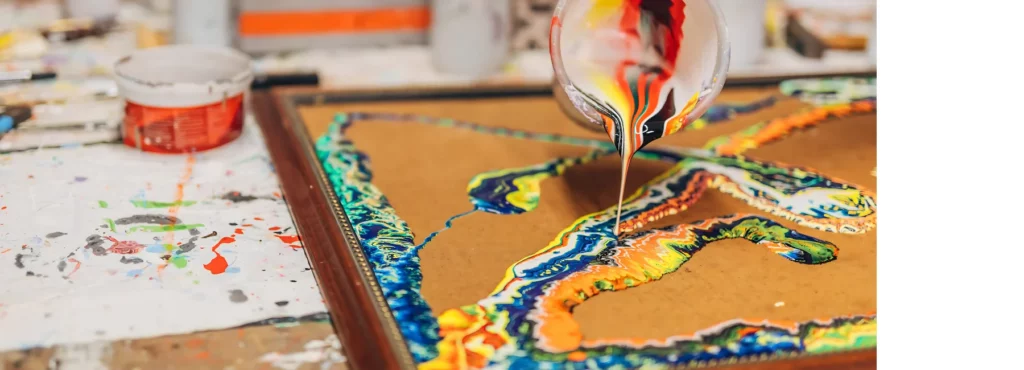
Acrylic pouring, also known as fluid painting, is a mesmerising technique where artists pour diluted acrylic paint onto a canvas to create spectacular, flowing patterns and glossy finishes. Picture paint, but make it fluid and fabulous. This technique often involves mixing paint with a pouring medium to adjust the consistency, enabling the creation of dramatic designs with ease. Methods like the dirty pour and flip cup add further flair to the process (MyArtShop).
Key supplies needed include:
- Acrylic paints
- Pouring medium
- Pouring surface (e.g. canvas)
Benefits of Acrylic Pouring
Why should one dive into acrylic pouring? Well, aside from the sheer joy of creating eye-popping art, there are several other benefits:
- Creative Freedom: Acrylic pouring allows for endless experimentation. Whether it’s mixing colours or using different techniques, the possibilities are boundless.
- Ease of Use: You don’t need to be Picasso to create stunning pieces. Acrylic pouring is beginner-friendly, yet still offers depth for experienced artists.
- Stress Relief: There’s something incredibly therapeutic about watching colours swirl and meld together, creating a marbled masterpiece.
- Glossy Finishes: When done right, acrylic pouring gives artworks a smooth and shiny veneer, elevating the overall aesthetic.
- Versatility: This technique isn’t just for canvas. You can transform wood, glass, or even ceramic into your very own art show.
Here’s a table summarising the benefits:
| Benefit | Description |
|---|---|
| Creative Freedom | Endless possibilities for experimentation with colours and techniques. |
| Ease of Use | Simple enough for beginners, yet complex enough to keep pros engaged. |
| Stress Relief | Therapeutic process with visually rewarding results. |
| Glossy Finishes | Provides a smooth, shiny, professional-looking finish. |
| Versatility | Can be applied to various surfaces like canvas, wood, and glass. |
Integrating tools like silicone can also enhance your artwork with stunning cells that pop with vibrant colour (Left Brained Artist). For those intrigued by creating these cellular effects, exploring different density acrylic paints can adjust the size, colour, and shape of these cells (Canvas In Common).
Essential Supplies
Before you can transform your space into a magnificent studio for acrylic pouring, you’ll need the right supplies. Think of it like a chef needing the best ingredients to whip up a gourmet dish. So, here’s an insightful look at the essentials.
Acrylic Paints Selection
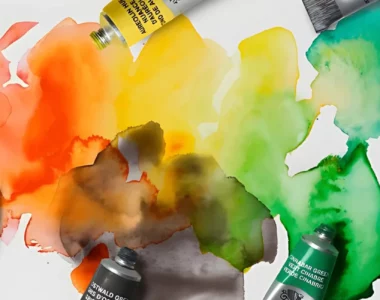
Choosing acrylic paints for pouring is like selecting the perfect wine for dinner; it matters. High-quality acrylic paints provide vibrant colours and rich textures. Consider brands like Mont Marte and Galeria, known for their brilliant hues and consistency.
| Brand | Quality | Best Uses |
|---|---|---|
| Mont Marte | High | All-rounder |
| Galeria | Premium | Professional-grade finishes |
| Iris | Good | All-rounder |
Pouring Mediums Overview
Next, let’s talk about the magic elixir that turns your regular acrylic into a swirling, pouring masterpiece: the pouring medium. Pouring mediums improve paint flow, elongate drying time, and minimise cracking.
| Medium | Features | Best For |
|---|---|---|
| Easi Pour Medium | Enhances flow | Smooth, professional look |
| Floetrol | Promotes cell formation, budget-friendly | Creating numerous small cells |
| Zelcraft Pour Medium | Enhances flow | Smooth, professional look |
Tools for Acrylic Pouring
Believe it or not, you don’t need a workshop full of gadgets to create acrylic pour art. However, a few key tools will make your life significantly easier.
- Cups and Stir Sticks: Essential for mixing paints and mediums. They’re like the mixing bowls and spatulas of the art world.
- Torches: No, we’re not setting up a campfire. Small butane torches help in removing air bubbles from the paint.
- Canvas: The stage for your grand performance!
- Plastic Drop Cloths: Keep your results on the canvas, not on the floor.
Having the right supplies sets the foundation for a successful and enjoyable experience in acrylic pouring.
Creating Cells
Unlocking the magic of cells in acrylic pouring can be a game-changer for your artistic journey. Cells—those mesmerizing little pockets of colour—are what make each pour truly unique. Let’s dive into the techniques and supplies you need to get those lovely cells dancing on your canvas.
Techniques for Cell Creation
Achieving the right cell sizes and patterns isn’t wizardry, but it does require a bit of science. Cells are formed when there are differences in paint density, leading to fascinating fluid dynamics on your work surface. Here are some popular methods:
- Swipe Method: Spread your mixed paints on the canvas and use a swiper (usually a piece of plastic or paper) to swipe across the surface. This method helps create distinct cells.
- Flip Cup Technique: Layer your paints in a cup, flip it onto the canvas, and slowly lift the cup. The dramatic reveal can result in varied and robust cell patterns.
- Blow Painting: Use a straw or blow dryer to move paint around the canvas. This method allows for controlled cell creation and interesting flow patterns.
Using Silicone for Cells
Silicone oil is a favourite among artists for its cell-generating prowess. When added to your paint mixture, it disrupts the surface tension, allowing cells to bloom. Here’s a quick guide:
- Mixing: Add a few drops of silicone oil to your mixed acrylic paint and pouring medium. Stir lightly; you want the oil to be present but not completely integrated.
- Application: After pouring your paint mixture onto the canvas, use a blow torch to gently heat the surface. This step helps to bring out the cells, as the heat causes the silicone to rise through the layers of paint.
Pros and Cons:
| Feature | Pros | Cons |
|---|---|---|
| Silicone Oil | Effortless cell creation | May impact archival quality, can lead to yellowing over time |
Alternative Cell-Forming Additives
Silicone isn’t the only game in town! If you’re concerned about its long-term effects, there are other additives that can help you achieve impressive cells without compromising the quality of your artwork.
- Pouring Medium Alone: It’s a common myth that you need both pouring medium and silicone oil to create cells. In reality, pouring medium alone is quite effective. It interacts with the paint, creating small, delicate cells.
- Alcohol: Adding a few drops of isopropyl alcohol to your paint mixture can also help to form cells. Just be cautious about the alcohol concentration, as too much can affect the paint’s consistency.
By experimenting with these methods and additives, you can discover your own signature style in acrylic pouring.
Acrylic Pouring Techniques

Dirty Pour Method
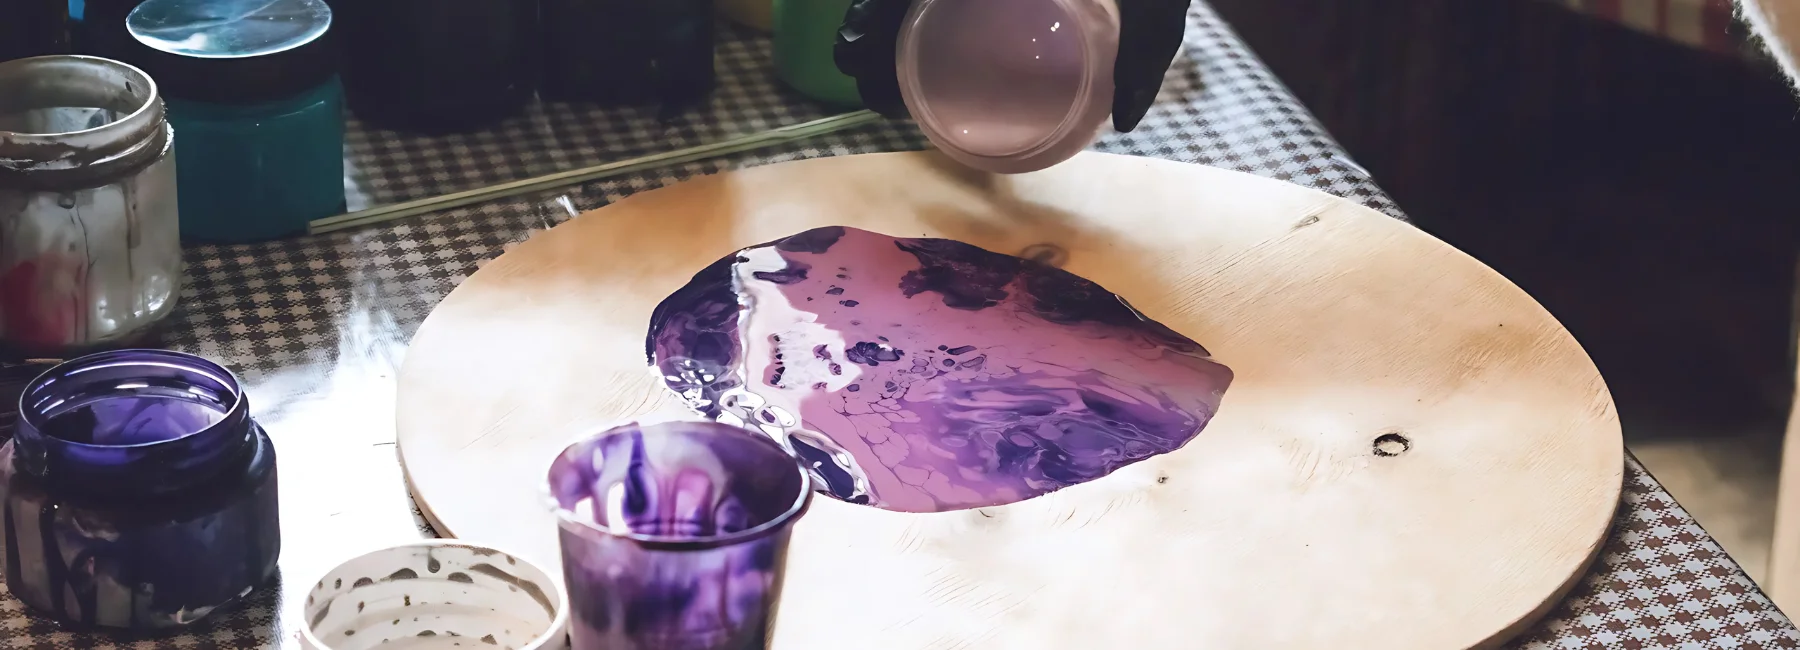
The Dirty Pour Method, also known as a Flip Cup, is a favourite among acrylic pouring enthusiasts. This technique involves layering different acrylic paints with a pouring medium in a cup, then, with a twist of excitement, flipping the cup onto the canvas. The chaos of colours settling into fantastic patterns is utterly mesmerising. To enhance this method, silicone can be added to create those lovely cell effects that make your artwork pop (MyArtShop).
Dutch Pour Technique
For those who like a bit of wind in their hair (or, more accurately, hairdryer in their hand), the Dutch Pour Technique is a blast. This method involves spreading paint on the canvas and then, much like a gale-force artist, using a hairdryer to blow the paint across the surface. This technique requires a base coat and provides a fantastic way to create intricate lacing and fine details that would make even a lace-maker jealous (Homebody Hall).
Swipe Method
Sometimes, you just want to swipe right. The Swipe Method involves applying paint to the canvas and then using a swiping tool (like a palette knife or even an old credit card) to drag the paint across the surface. This technique can create unique cells and patterns, making your artwork look like an abstract masterpiece.
Torch Usage in Pouring
When it comes to adding the finishing touch to your acrylic pouring masterpiece, a butane torch is your best mate. This fiery friend helps pop air bubbles in the paint, creating a smoother finish. Moreover, it can coax cells from the depths of your poured colours by heating the surface. Adding silicone oil can also encourage the formation of cells, making your artwork tantalisingly textured.
| Technique | Key Tools | Purpose |
|---|---|---|
| Dirty Pour | Acrylic paints, cup, silicone | Creates mesmerizing patterns with layered paints and cell formations |
| Dutch Pour | Acrylic paints, hairdryer | Generates fine details and lacing effects through paint manipulation |
| Swipe Method | Acrylic paints, swiping tool | Produces unique cells and patterns by swiping paint across the canvas |
| Torch Usage | Acrylic paints, butane torch | Pops air bubbles and encourages cell formation by heating the paint |
Advanced Pouring Tips
Aiming for that illustrious acrylic pouring masterpiece without the hiccups? Let’s dive into some top-tier tips that will leave you feeling like a professional artist.
Avoiding Cracking and Crevicing
No one likes cracking, especially not in their art. To avoid these unsightly fissures, use a thin layer of pouring medium. (Nancy Reyner). Avoid applying the medium too thickly, which might result in uneven drying rates. Opt for the slow and steady approach by pouring multiple thin layers. Each layer should dry before adding the next.
| Tips for Avoiding Cracking | Description |
|---|---|
| Thin Layers | Apply thin layers of medium |
| Proper Drying | Allow each layer to dry completely |
| Quality Medium | Use high-quality medium like Golden’s GAC800 |
Preventing Bubbles in Pours
What’s more frustrating than turning out a stellar pour, only to find pesky bubbles ruining the smooth finish? Here’s how to burst their bubble:
- Gentle Pouring: Pour from a low height and soft angle.
- Alcohol Mist: Apply a light mist of alcohol on the surface before or after pouring while the medium is still wet.
Achieving Smooth Finishes
Every artist dreams of a finish as smooth as butter. Here’s how to make that dream a reality:
- Proper Surface Prep: Use canvases or wooden panels. Wooden panels, particularly cradled wood panels, are ideal due to their sturdiness and flatness. Seal and prime wooden panels with gesso before painting.
- Avoiding Cracking and Bubbles: Refer to the above tips for avoiding cracking and preventing bubbles as these contribute significantly to smooth finishes.
- Use of PPE: Always use Personal Protective Equipment (PPE) like nitrile gloves for safety, especially when dealing with chemicals and torches (Olga Soby).
Product Recommendations
When it comes to finding the best acrylic pouring supplies, having a solid grasp of high-quality products can make a world of difference in your artwork. Here are a few top-notch recommendations:
Mont Marte Acrylic Pouring Range
Mont Marte offers an excellent range of products perfect for acrylic pouring enthusiasts. Whether you’re diving into a Dirty Pour or getting fancy with a Dutch Pour, Mont Marte has you covered.
- Mont Marte Split Pouring Cup: A versatile tool ideal for various pouring techniques. The split cup allows for unique, multi-colour effects. Perfect for the adventurous artist looking to experiment.
- Mont Marte Premium Silicone Oil: Enhance cell formation in your pours with this nifty oil. It’s a must-have for any fluid art project.
- Mont Marte Pouring Acrylic Paint: Pre-mixed and ready to go, these paints are designed for ease of use in fluid art. Convenient and effective, they allow artists to quickly dive into their creative projects.
With this selection of premium acrylic pouring supplies, you’ll be well-equipped to create stunning fluid art. From Mont Marte’s versatile range to acrylic paints and pouring medium alternatives, there’s something for every artist ready to bring their creative visions to life.