The World of Resin Casting
Introduction to Resin Casting
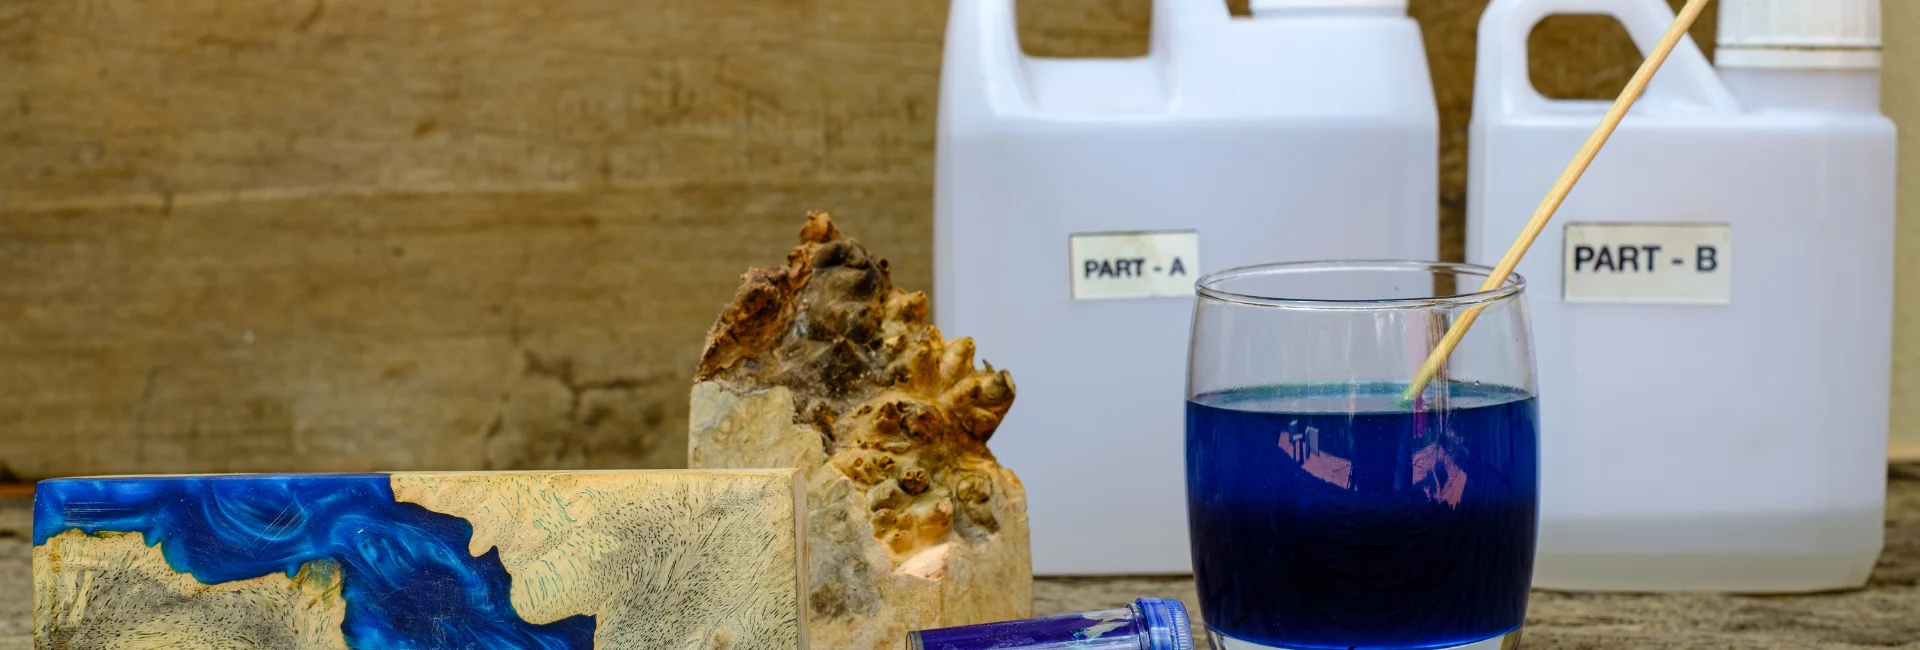
Resin casting is a fascinating and versatile craft that has captured the hearts (and wallets) of many creative artists. It involves pouring liquid resin into a mould and allowing it to cure, creating solid, often dazzling objects. These can range from jewellery pieces to intricate sculptures, and everything in between. Resin casting is like magic but with a bit more stickiness and a lot more waiting.
Artists often choose resin casting for its ability to produce incredibly detailed replicas. This technique can create items that are near perfection in terms of complete reproductions and seamless copies (Hobby Machinist). Whether you’re making a flawless replica of your pet rock or designing a stunning piece of art, resin casting opens a world of creative possibilities.
Benefits of Transparent Resin Casting
Transparent resin casting offers several unique benefits, making it a popular choice among artists aiming for a crystal-clear finish. Here are some of the key advantages:
- Clarity and Aesthetics: Transparent resins, such as epoxy or polyester, provide a glass-like finish that enhances the visual appeal of the final product. This clarity can highlight embedded objects or intricate designs within the resin, making the end result truly eye-catching.
| Resin Type | Clarity | Shrinkage (Upon Curing) | UV Resistance | Hardness |
|---|---|---|---|---|
| Epoxy | High | Low | Moderate | Variable |
| Polyester | Moderate | Moderate | High | Moderate |
| Polyurethane | Moderate | Low | Low | High |
- Versatility: Transparent resin can be used for a variety of applications— from encapsulating keepsakes to creating decorative items where visibility through the part is needed (Hobby Machinist).
- Durability: Epoxy resin, for instance, offers excellent adhesion and durability. It bonds well with materials like wood, metal, and fiberglass, providing high strength and chemical resistance (Artmolds).
- UV Resistance: Polyester casting resin is noted for its UV resistance, which means your masterpiece won’t yellow over time. However, in very large castings, it might take on a slight purple hue.
Embracing transparent resin casting is like unlocking a treasure chest of artistic potential. The materials allow for a high level of creativity and precision, enabling artists to bring their most imaginative ideas to life, with a touch of clarity and elegance that only transparent resin can offer.
Choosing the Right Resin
Selecting the appropriate resin is a pivotal step in achieving the desired results in your transparent resin casting projects. Dive into the types of casting resins and the essential factors to consider for optimal results.
Types of Casting Resins
There are several types of casting resins available, each with its distinct features and benefits. Here, we’ll explore the most commonly used resins for transparent casting:
- Epoxy Resin: Epoxy resin is celebrated for its durability and crystal-clear finish. Ideal for art projects that require a thick, transparent layer. It features a low viscosity, akin to water, which facilitates easy pouring into small spaces or molds. However, it might take up to a week to fully cure.
- Polyurethane Resin: These resins are known for their versatility and quick curing times. Polyurethane resin can be a bit more challenging to work with compared to epoxy, but it offers excellent impact resistance and durability.
- Polyester Resin: Often used in boat construction and auto repairs, polyester resin is less expensive but emits strong fumes during curing. It cures quickly, making it less suitable for detailed handcraft projects but perfect for larger, robust items.
| Type of Resin | Transparency | Viscosity | Cure Time | Ideal For |
|---|---|---|---|---|
| Epoxy | High | Low | Up to 1 week | Art projects, jewellery, thick layers |
| Polyurethane | Medium | Medium | 24-48 hours | Prototyping, small-scale productions |
| Polyester | Medium | High | Hours | Large castings, repairs |
Factors to Consider when Selecting Resins
When picking the right resin for your masterpiece, keep the following factors in mind:
- Transparency: The clarity of the finished product is crucial for transparent resin casting. Ensuring the resin remains bubble-free and crystal clear is key.
- Viscosity: Low viscosity resins are ideal for detailed work because they flow more easily and accommodate intricate mold designs.
- Cure Time: Depending on the project’s urgency, choose a resin with a cure time that fits your schedule. Epoxy resins typically take longer, while polyurethane resins cure much faster.
- Durability: Ensure the selected resin offers the required durability, especially for items subjected to regular handling or external conditions.
- Safety: Adequate ventilation is indispensable when working with these materials to disperse any fumes during curing. Always wear appropriate personal protective equipment to avoid skin irritation.
Choosing the suitable resin type and considering these critical factors will help ensure your transparent resin casting projects shine with brilliance and durability. Dust off those creative tools and let your resin endeavors begin!

Working with Transparent Resin
Transparent resin casting can be a game-changer for artists looking to create crystal-clear masterpieces. With its low viscosity and seamless curing, transparent resin casting delivers perfection in every pour. Let’s dive into the techniques and precautions needed to make your resin projects shine.
Mixing and Pouring Techniques
Mixing and pouring resin requires precision, patience, and a sprinkle of humour. Here’s a simple recipe:
- Measure Accurately: For the love of art, stick to the recommended ratios provided by the resin manufacturer. Too little hardener or too much resin can yield undesirable results.
- Mix Thoroughly: Combine the resin and hardener in a spotless container. Stir slowly in circles, not like you’re whipping cream for your grandma’s famous pie. Avoid rapid stirring that might trap bubbles.
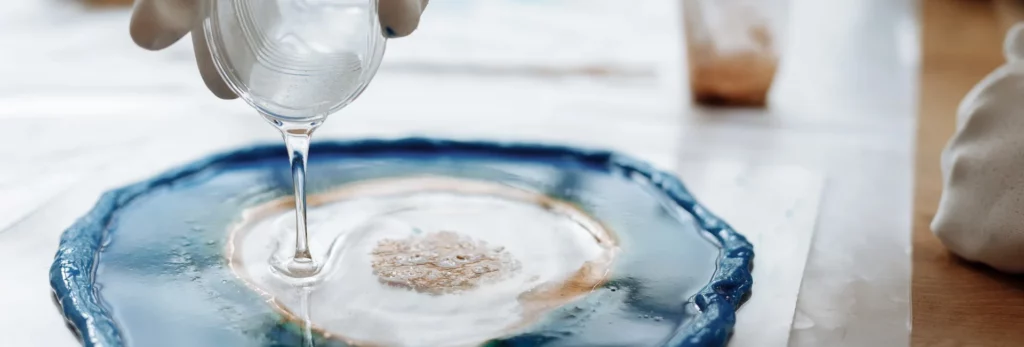
- Pour with Purpose: Pour the mixed resin into your mould slowly and steadily. Tilt the mould slightly to let the resin cover every nook and cranny.
| Step | Task | Duration (Minutes) |
|---|---|---|
| 1 | Measure resin and hardener | 5 |
| 2 | Mix resin and hardener thoroughly | 3 – 5 |
| 3 | Pour resin into the mould | 2 – 4 |
Pro tip: Use a heat gun or torch to pop any pesky bubbles that dare to rise to the surface.
Curing Process and Timeframes
Curing is where the magic happens, transforming liquid resin into a solid, see-through wonder. The curing process generally involves the following steps:
- Initial Cure: This stage takes place within the first few hours. The resin is no longer liquid but not fully hard.
- Full Cure: This can take anywhere from 24 to 72 hours, depending on the resin brand and environmental conditions.
| Curing Stage | Description | Duration |
|---|---|---|
| Initial Cure | Partially hardened | 4 – 6 hours |
| Full Cure | Completely solid and clear | 24 – 72 hours |
Ensure good ventilation during the curing phase to avoid inhaling any lingering fumes.
Handling and Safety Precautions
Safety should be your closest companion when working with transparent resin. Here are some essential tips to keep in mind:
- Wear Gloves: Resin on your skin? Not fun. Use nitrile gloves to protect against skin irritation.
- Good Ventilation: Ensure your workspace is well-ventilated to disperse fumes. An open window or a fan can work wonders.
- Eye Protection: Wear safety goggles. You want your art to sparkle, not your eyes.
- Secure Storage: Store resin securely out of reach from children and away from food areas.
By following these mixing methods, understanding the curing timeline, and adhering to safety measures, you can master the art of transparent resin casting. Happy creating!
Enhancing Resin Projects
When it comes to taking resin casting to the next level, fillers are your magic wand. These little additives can transform your transparent resin casting projects from ordinary to extraordinary.
Using Fillers for Resin Casting
Fillers serve various purposes in resin casting. They can reduce the weight, increase strength, and even enhance the appearance of your final piece. Here’s a list of some commonly used fillers:
- Fillite (alumino-silicate ash)
- Glass microspheres
- Chalk
- Talc
- Marble dust
- Limestone sand
- Sawdust
- Chopped glass fibre
- Powdered slate
- Ground olive stones
Want a lighter piece that’s easier to carve? Go for Fillite or glass bubbles. Need extra muscle? Glass fibre and marble dust are your best buddies.
Creating Custom Effects with Fillers
One of the most delightful benefits of using fillers is the range of custom effects you can create. From mimicking stone textures with limestone sand to achieving stunning composite strength with milled carbon fibre, the possibilities are endless.
Examples of Custom Effects:
- Stone-Like Casts: Limestone sand is perfect for this. It not only looks like the real thing but also makes it easier to tool.
- Textured Finishes: Adding sawdust or powdered slate can give your project a unique, rustic feel.
- Strength & Durability: Incorporating milled carbon fiber significantly boosts tensile strength, ideal for high-stress applications.
Resin Compatibility with Fillers
Not all fillers get along with every type of resin. Like a matchmaking game for chemical compounds, selecting the right filler for your resin is crucial for achieving the desired outcome. Here’s a handy table to help you navigate this complex relationship:
| Filler Type | Compatible Resins | Notes |
|---|---|---|
| Talc | Polyester | Reduces brittleness |
| Marble Dust | Epoxy and Polyester | Adds strength |
| Fillite | Various (especially Epoxy) | Makes lighter, carvable casts |
| Chopped Glass Fibre | Polyester | Increases structural integrity |
| Milled Carbon Fibre | Epoxy | Enhances tensile strength |
| Cabosil | Polyester | Thickens resin, makes it gel-like when soaked overnight |
Understanding these compatibilities helps in achieving a flawless finish in your resin casting projects. With the appropriate filler-resin combination, artists can explore endless creative possibilities while ensuring durability and aesthetic appeal.
Advanced Resin Casting Techniques
Mastering advanced resin casting techniques opens new doors for creative artists, making it easier to bring ideas to life with intricate details and high-quality finishes. Let’s delve into the world of creating complex moulds and the nuances of demoulding and final touches in your transparent resin casting projects.
Creating Complex Moulds
Creating complex moulds is key to replicating handcrafted objects with precision. When crafting a mould, remember it needs to be robust enough to hold its shape when filled with liquid resin, but flexible enough to release the hardened casting easily.
- Masterpiece Creation: Start with an original piece. Ensure it is nonporous to prevent the resin from seeping into it.
- Mould Material: Use materials like silicone or rubber for their flexibility and durability.
- Mould Making Steps:
- Frame It: Construct a frame around your masterpiece to contain the mould material.
- Pouring the Mould Material: Pour the silicone or rubber into the frame, ensuring it flows well around the original piece.
- Setting Time: Allow the mould material to cure fully as per the instructions, which can range from a few hours to a day.
Demoulding and Final Touches
Demoulding is a crucial step where finesse and care determine the quality of your finished piece.
- Curing Time: Allow the resin to cure completely. This can take 12 hours to 2 days, depending on the type of resin used.
- Use a Release Agent: Applying a release agent before pouring the resin will make the demoulding process smoother.
- Removing the Resin Piece:
- Peeping Method: Gently peel away the mould, flexing it as needed to release the casting.
- Prying Method: Carefully use a prying tool if the piece is stubborn, but avoid damaging the resin.
- Finishing Touches:
- Sanding: Smooth out any rough edges with fine-grit sandpaper.
- Polishing: Use a polishing compound to bring out a glossy finish.
- Detailing: Add final details using paints or additional resins for a professional look.
| Aspect | Details |
|---|---|
| Mould Material | Silicone/Rubber |
| Setting Time for Mould | Few hours to a day |
| Curing Time for Resin | 12 hours to 2 days |
| Release Agent | Recommended for easier demoulding |
| Finishing Touches | Sanding, Polishing, Detailing |
Advanced resin casting techniques, combined with the right materials and a dash of patience, can transform your creative ideas into stunning finished pieces. Whether you’re crafting jewellery or detailed decor items, understanding these intricacies ensures your projects shine as bright as a diamond!
Environmental Impact and Safety
Risks and Precautions with Resin Casting
When working with transparent resin casting, it’s crucial to be aware of the potential hazards. Liquid 3D printing resins, such as UV resin, can be toxic and require strict safety measures due to harmful irritants. Exposure to these substances can lead to numerous health issues, including respiratory problems, skin irritation, and potential long-term reproductive risks.
Some potential risks and precautions to consider:
- Chemical Inhalation: Always work in a well-ventilated area to avoid inhaling fumes.
- Skin Contact: Wear gloves and protective clothing to prevent skin irritation.
- Eye Protection: Use safety goggles to protect your eyes from splashes.
- Environmental Impact: Be aware of the potential impact on the environment and other living species. Proper disposal is essential.
Safe Handling and Disposal of Resin
Handling and disposing of resin properly is vital for both your safety and the environment. Specific guidelines should be followed to minimise risk:
- Storage: Keep resin in tightly sealed containers away from direct sunlight and heat.
- Disposal of Hardened Resin: Fully cure resin before disposal to reduce environmental impact. Once hardened, it can be disposed of with regular waste.
- Handling Spills: Use absorbent material for spills and dispose of the material in compliance with local regulations.
| Safety Practice | Description |
|---|---|
| Ventilation | Use in a well-ventilated area. |
| Protective Gear | Gloves, safety goggles, and aprons. |
| Storage | Seal in appropriate containers. |
| Disposal | Fully cure and then dispose. |
Eco-Friendly Resin Alternatives
As the awareness of environmental impact grows, many artists are seeking eco-friendly resin alternatives. These options aim to reduce the toxicity and environmental footprint of traditional resins.
Water-based and Plant-based Resins
Innovative and sustainable, water-based and plant-based resins offer a greener solution:
- Water-based Resins: Generally less toxic and easier to clean up with water. They provide a safer option for both artists and the environment.
- Plant-based Resins: Often derived from renewable sources and have a lower environmental impact compared to synthetic resins. They still offer durability and clarity similar to traditional resins.
Summary Table
| Resin Type | Description |
|---|---|
| Water-based Resin | Easy cleanup, less toxic |
| Plant-based Resin | Renewable sources, eco-friendly |
It’s essential to consider these safer and more sustainable options to protect both your health and the environment while achieving outstanding artistic results in transparent resin casting.

