-
 1 × R1850.00
Subtotal: R1850.00
Subtotal: R1850.00
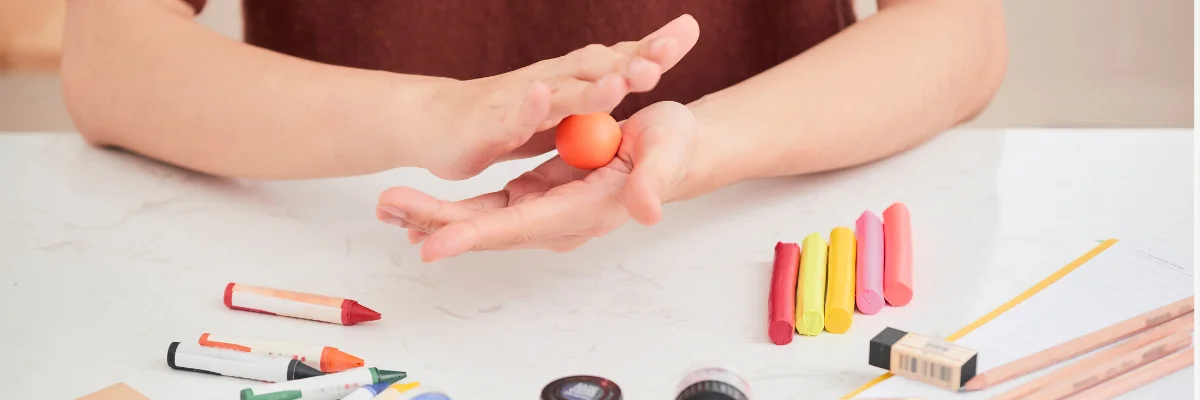
In the whimsical world of crafting, air dry clay emerges as the superhero of sculpting mediums. Swooping in to save the day for artists and hobbyists alike. This malleable marvel is pliable in the hands of the creator, and it performs its magic trick by hardening at room temperature, no kiln or oven necessary! The transformation from squishy to solid happens as it basks in the glory of, well, air. Once fully dry, it’s ready to strut its stuff on the catwalk of crafts, be it sanded, painted, or sealed with a kiss of varnish.
For those who fancy themselves a bit of a Michelangelo minus the mess of marble. Air dry clay offers a no-fuss alternative that’s as easy to shape as a politician’s promise but far more reliable when it comes to holding its form. It’s a dream for both nimble newbies and seasoned sculptors craving convenience (Prima).
Now, let’s chat about the bevy of benefits that come with using air dry clay. For starters, it’s about as high-maintenance as a pet rock. There’s no need for fancy equipment like a kiln or pottery wheel, making it the go-to choice for those who prefer their artistry with a side of simplicity. It’s knead, build, dry, and voila – you’ve got yourself a masterpiece in about a day’s time, give or take (Mont Marte).
With air dry clay, the creative possibilities are as boundless as the universe. Fancy a miniature dragon? Done. A replica of your Aunt Mabel’s peculiar hat? Absolutely. It’s fun, easy-peasy, and stupendously versatile – perfect for anyone itching to dip their toes in the clay-stained waters of sculptural artistry without committing to the full pottery plunge (Mont Marte).
But wait, there’s more! Patience is a virtue, but for those who can’t wait to show off their creations, air dry clay is quick on the draw, setting in 24 to 48 hours. Just remember, slow and steady wins the race. Don’t succumb to the temptation of a sunbath or a blow-dry, lest you fancy a network of cracks as part of your design (Mont Marte).
Let’s not forget, this clay is a one-trick pony. It’s strictly for the ‘look don’t touch’ brigade. It’s not food safe, so steer clear of culinary ambitions and stick to beautifying your life with purely decorative delights. Whether you’re coiling, pinching, or full-on sculpting. Air dry clay is your pliable partner in crime for all things artsy (Prima).
Now that you’re well-versed in the wonders of air dry clay, why not roll up your sleeves and dive into some air dry clay ideas? Or, if you’re feeling particularly ambitious. Take the plunge into the realm of air dry clay sculpture. The only limit is your imagination!
When on the hunt for the perfect air dry clay, one must wade through a delightful swamp of options. Each variety boasts its own quirks and features. Making the choice as personal as one’s preference for tea over coffee. Let’s delve into the magical world of air dry clays. Examining a few fan favourites that could be the answer to your sculpting dreams.
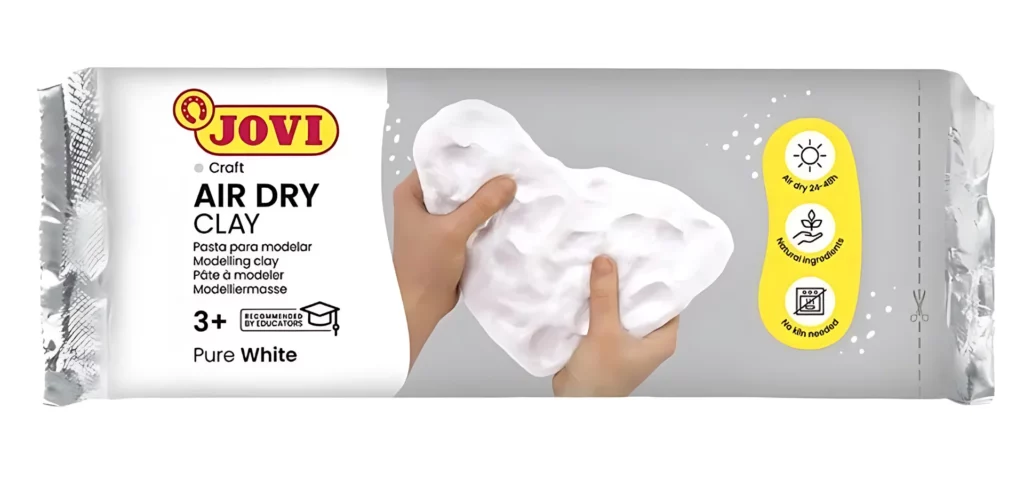
First on the list is the versatile and widely acclaimed Jovi Air Dry Clay. Known for its cool and somewhat posh touch, it’s like the clay equivalent of a cucumber sandwich on a warm summer day – refreshing and oh-so satisfying to handle. Not only does it adhere to a smorgasbord of surfaces, including the usual suspects like wood and cardboard, but also glass and metal, making it a real sticky beak (My Art Shop). It’s a no-fuss, no-oven-needed kind of clay that airs its business out to dry within 24 hours, depending on how thick you’ve slapped it on. Once dry, it provides a canvas smoother than a jazz singer’s voice, ready to be fancied up with an array of mediums from water-based paints to varnishes.
| Clay Type | Drying Time | Texture | Surface Compatibility |
|---|---|---|---|
| Jovi Air Dry Clay | 24 hours | Cool and Smooth | Wood, Plastic, Cardboard, Glass, Metal |
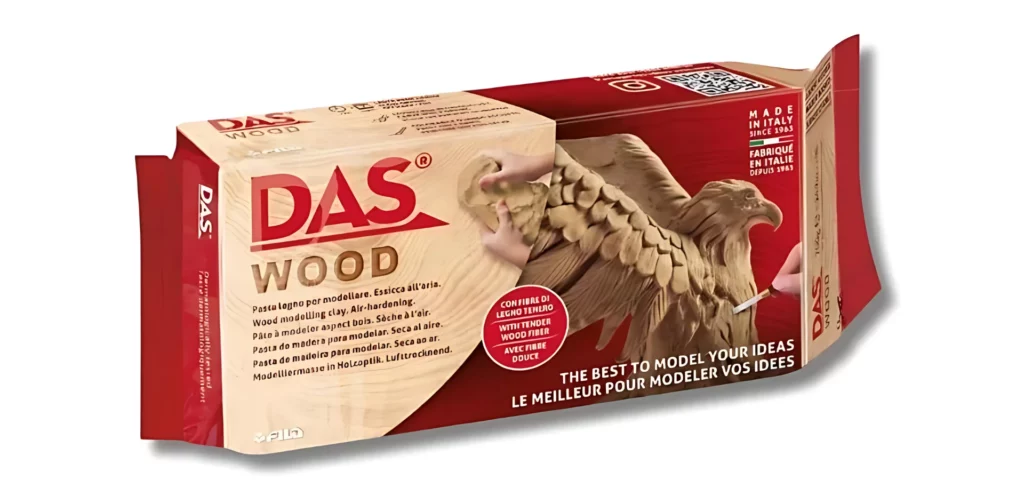
And for those with a taste for the unconventional, may I present DAS Wood Clay. This one’s for the artists who fancy a bit of a rustic vibe, as it dries with a charming wood effect. It’s like having a mini lumberyard at your fingertips, without the splinters and sawdust. This clay is the dark horse of the air dry family, providing a refreshing alternative for those looking to branch out (My Art Shop). It’s best suited for sculptors aiming to achieve that natural, earthy look in their air dry clay sculpture projects.
| Clay Type | Drying Time | Texture | Finish |
|---|---|---|---|
| DAS Wood Clay | 24 hours | Firm | Wood Effect |
In conclusion, whether you’re a seasoned sculptor or a dabbling debutante, the world of air dry clay modelling is rife with possibilities. Each type of clay comes with its own set of endearing characteristics and potential for creation. So, roll up those sleeves, get your hands mucky, and let the clay do the talking!
The world of air dry clay modelling is a whimsical one, where the only limits are your imagination and perhaps your ability to keep the clay from drying out too soon. Here’s how to get your hands dirty (quite literally) with air dry clay.
Before you start sculpting your masterpiece, you’ll need to condition your clay. Think of it as a warm-up exercise but for your clay. Give it a good knead until it’s as smooth as a jazz singer’s vocals. You want to get it to the point where it’s pliable enough to bend to your creative will without cracking under pressure.
To avoid the clay sticking like gum to a shoe, work on a non-stick surface—wax paper is your friend here. If your clay starts to feel a bit parched, show it some love with a spritz from a spray bottle of water to keep it moist and cooperative. Remember, it’s like a plant; it needs water to thrive, albeit not too much!
If you’re planning to stage a multi-day clay extravaganza, fear not! You can keep your clay workable for about four days. Just wrap it in a damp tea towel and cling wrap, as if you’re tucking it in for a short nap (Mont Marte).
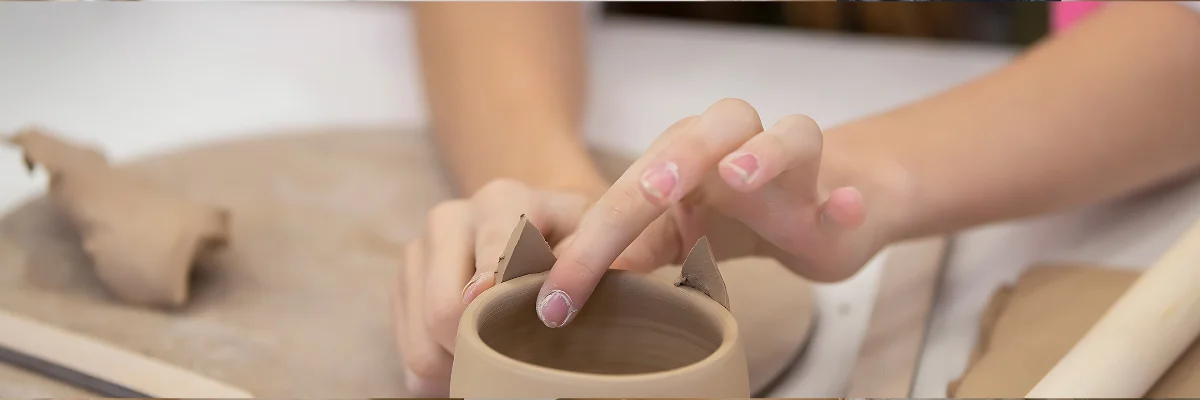
Now for the fun part—sculpting with air dry clay. If you’re joining clay pieces together, you’ll want to use scoring and slip techniques. It’s like making a mud pie, but you’re allowed to play with it indoors. Score the surfaces you want to join, slap some slip (a liquid mixture of clay and water) on them, and stick them together. It’s the equivalent of giving your clay a firm handshake that says, “Let’s stick together.”
As you’re crafting your air dry clay ideas, keep an eye on the thickness of your creations. Like a good plot, you don’t want it too thin, or it’ll fall apart, but too thick, and it’ll take an age to dry.
Patience is a virtue, and nowhere is this truer than in drying your clay. Allow your project to dry fully before you even think about moving or painting it. This could take around 24 hours, depending on how thick you’ve gone with your design. Find a spot with good airflow and a stable temperature to let your creation dry out, like a spa day for your sculpture (Prima).
Once dry, it’s time to bring on the color. While you can color your clay before or after drying, painting while it’s wet often leads to more vibrant results (Quora). However, if you fancy painting on dry clay, make sure you’re ready for a slightly more subdued look.
After all your hard work, you’ll want to finish it off with a sealant to protect your piece. Whether it’s a spray or brush-on varnish, it’s like putting a raincoat on your sculpture ready for the great outdoors—or just a dusty shelf indoors.
And there you have it! With your clay conditioned, sculpted, and dried, you’re well on your way to becoming the Michelangelo of the air dry clay world. Don’t forget to check out our guide on air dry clay sculpture for more in-depth techniques and awe-inspiring project ideas. Now go forth and clay!
Mastering the art of air dry clay modelling requires a bit of know-how and a handful of crafty tricks up your sleeve. Whether you’re sculpting a masterpiece or just having a bit of fun, these tips will help ensure your creations are the envy of artists and hobbyists alike.
When it comes to adding a splash of colour to your clay creations, timing is everything. It’s generally best to channel your inner Picasso and apply pigments or paints while the clay is still damp and oh-so-malleable. The surface of air dry clay is more porous when wet. Which means it’s ready to soak up all that glorious colour like a sponge at a spillage party (Quora).
If you find yourself in a pickle and need to colour the clay post-hardening, fear not!. It’s still doable, but be warned, the results might not be as eye-poppingly vibrant. For an extra protective measure, you might want to consider sealing your finished artwork with a clear sealant. This will keep your colours looking sharp and chipper, rain or shine.
Air dry clay is a bit like a fine wine. It doesn’t enjoy extreme temperatures or poor storage conditions. To keep your clay in tip-top shape, store it in an airtight container, and whisper sweet nothings to it occasionally. Keep it in a cool, dry place with good airflow, and away from direct sunlight or radiators. This way, you’ll avoid any premature drying or cracking, and your clay will be ready for action whenever inspiration strikes.
If you’ve got leftovers – and let’s face it, who doesn’t love a bit of surplus clay – wrap it up tightly to prevent it from drying out. You can always recondition it later by kneading in a bit of water to restore its original pliability.
Should you decide to brave the elements and display your creation outdoors. You’ll need to waterproof your sculpture like an eskimo in a snowstorm. Once your project is drier than a British comedy, it’s time to seal the deal (Mont Marte).
A coat of acrylic gloss medium or a homemade potion of equal parts PVA glue and water should do the trick. Apply it with the finesse of a seasoned artist to create an invisible shield against the wrath of Mother Nature. Just remember, air dry clay might be tough, but it’s not invincible. Keep it away from food and drinks, as it’s not food-safe and doesn’t play well with dishwashers.
Embrace these tips and tricks to enhance your air dry clay sculpture adventures. Whether you’re looking to add a burst of colour, extend the life of your clay, or prepare your sculptures for outdoor display, these strategies will help your creations stand the test of time. And for even more creative insights, check out our collection of air dry clay ideas to get those artistic juices flowing.
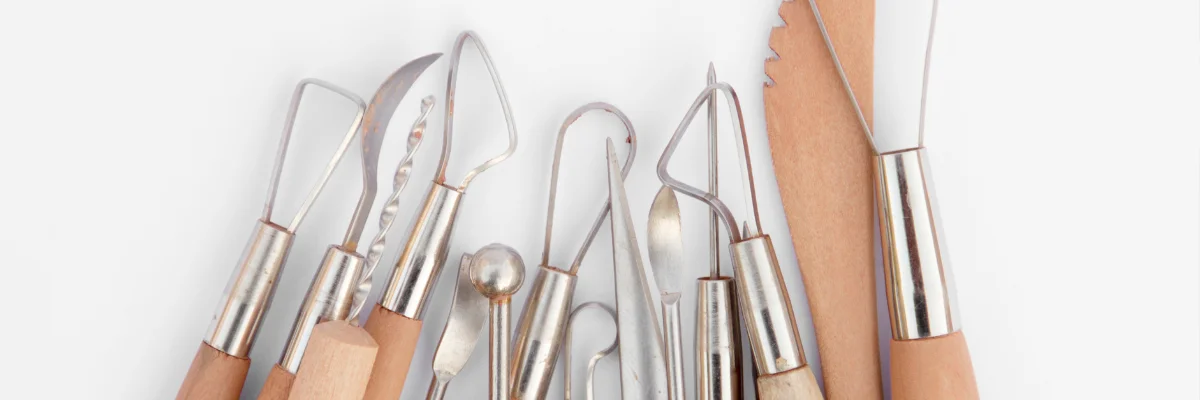
Whipping up a masterpiece with air dry clay is not just about throwing caution to the wind and letting your fingers do the talking. You’ll need the right tools and materials to transform that humble lump into a sculpture that’s worth its clay in gold. Let’s roll up our sleeves and dig into the essentials that’ll turn you into a Michelangelo of the air dry clay world.
Every artist needs their brushes, and every sculptor needs their tools. For air dry clay modelling, the tools you choose can mean the difference between a glorious creation and a lump that looks like it’s been through a toddler’s tantrum. Here’s a list of must-haves for your toolkit:
| Tool Type | Best Used For |
|---|---|
| Clay Tool Set | Texture, Pattern Creation |
| Double Ribbon End Tools | Detailing, Carving |
| Pottery Set | Cutting, General Shaping |
For more intricate and detailed designs, these tools are the secret sauce to a fabulous air dry clay sculpture.
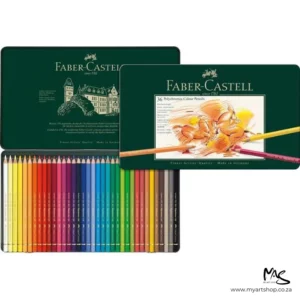
Once you’ve sculpted your heart out, it’s time to paint the town red—or any color you fancy. Painting and decorating your air dry clay creations breathes life into them, transforming them from drab to fab. Here’s what you’ll want to get your hands on:
Air dry clay modelling is a bit like magic – you start with a lump of nothingness and end up with a masterpiece (or at least something that’ll make your mum proud). So, grab your clay and let’s get those creative juices flowing with some sculpture ideas, project suggestions, and expert techniques that would make Michelangelo do a double-take.
Need a starting point for your next masterpiece? Here’s a list to spark that artistic fire:
For more out-of-the-box air dry clay ideas, be sure to check out our dedicated section.
As for projects, the versatility of air dry clay means the sky’s the limit. Here are a few suggestions to get your wheels turning:
Dive into our gallery of air dry clay sculpture for more inspiration on what you can create.
When it comes to working with air dry clay, even the experts keep learning. Here are some golden nuggets of advice:
Remember, each piece you create is a learning curve – so don’t fret if your first go isn’t a gallery-ready piece. Keep sculpting, keep experimenting, and most importantly, keep having fun with it!