-
 1 × R25.00
Subtotal: R25.00
Subtotal: R25.00
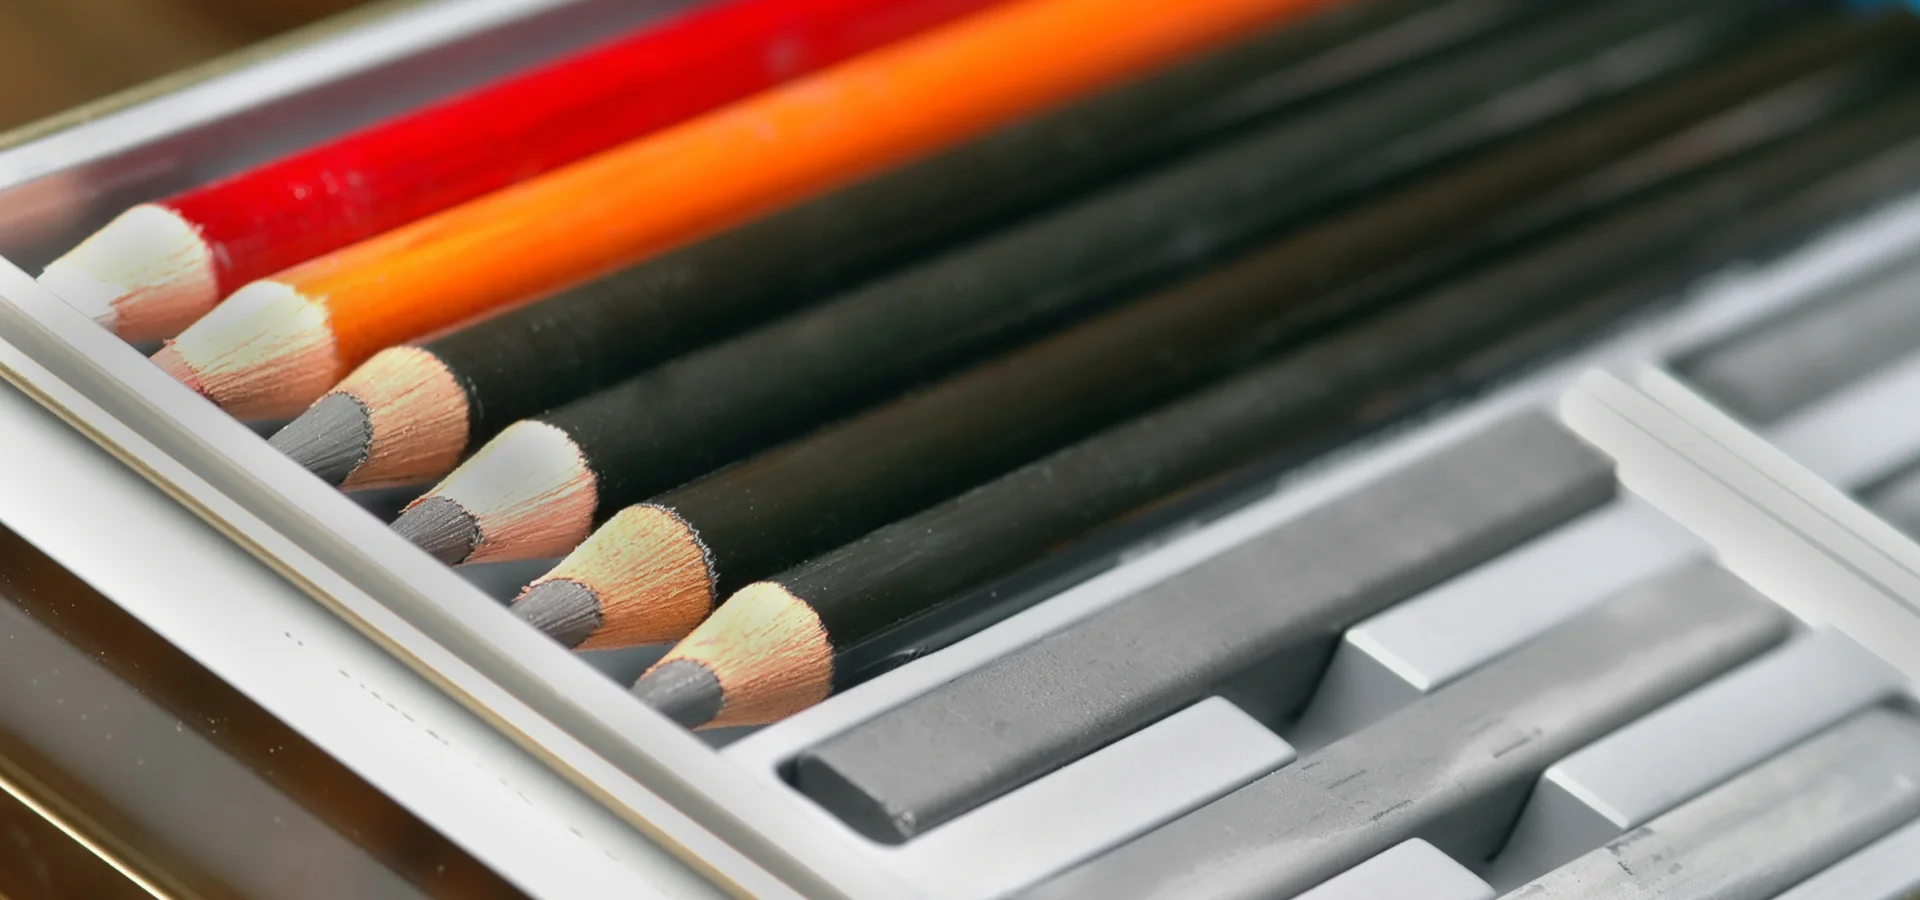
For those who dream of doodling the day away, selecting the perfect sketching pencil set can be just as crucial as nailing that first line on paper. With a cheery array of 32 different sketching sets, there’s something to tickle every artist’s fancy (My Art Shop).
Let’s dive into this world of graphite and magic, featuring top-notch brands like Lyra, Faber-Castell, Derwent, and more. Each set brings its own unique mix of pencils, charcoals, erasers, and sharpeners, crafted to make you feel like the next Van Gogh… without the ear drama.
| Brand | Set Name | Components |
|---|---|---|
| Koh-I-Noor | Gioconda Artist Pencil Set with Blender | Pencils, Blender |
| Cretacolor | Artist Studio Drawing 101 Introduction Set | Pencils, Charcoals, Erasers, Sharpener |
| Cretacolor | Sketching Set Blister Pack | Pencils, Erasers, Sharpener |
For the graphite-inclined, there’s a delectable variety of 36 loose sketching pencils also available. These offer a wealth of choices for artists keen on customizing their toolkits (My Art Shop).
Fancy trying different brands? Why not get your hands on a Faber-Castell set, famed for its quality and range? Or perhaps the Derwent graphite pencils, which offer a sketching experience smoother than a cat in slippers?
Remember, the perfect sketching pencil set is just the beginning of your artistic journey. Hone your craft by learning about pencil grades in our next section, Grasping Graphite Pencil Grades, and keep those pencil points sharp!
Isn’t it exciting to know that you can choose from a plethora of sketching sets to suit your level and style? Get ready to transform that blank canvas into a masterpiece!
Pencil grades can be a mystery wrapped in an enigma for many budding artists. Fear not, dear doodler, for we shall unravel the secrets of graphite grades, transforming your scribbles into masterpieces worthy of gallery walls.

Graphite pencils are graded on a scale from 8B to 4H. Here’s the deal:
| Grade | Description | Use Case |
|---|---|---|
| 8B | Very soft, very dark | Deep shadows, bold lines |
| B | Soft, dark | General shading, medium lines |
| HB | Middle of the road | Versatile, all-purpose |
| H | Hard, light | Fine details, initial sketches |
| 4H | Very hard, very light | Light shading, rough sketches |
In the strange and wonderful world of graphite, the letter ‘B’ denotes softness and blackness, while ‘H’ stands for hardness and lightness (Winsor & Newton). An HB pencil is your trusty steed, combining the best of both hard and soft leads. It’s the Swiss Army knife of sketching, suitable for beginners and professionals alike (Winsor & Newton).
Ah, the eternal question: which pencil to choose for which task? Here’s a handy guide to make your life easier:
For truly dark areas, you might need to layer multiple strokes of a soft pencil, as even the most determined scribbler won’t achieve darkness of Mordor levels with a hard lead (Winsor & Newton).
Keep those pencil points sharp! A quality sharpener or a fine-grade sandpaper will help avoid breakages and tantrums. More sharp tips await in our section on Maintaining Sharp Pencil Points.
Here’s a summary to remember:
| Drawing Stage | Recommended Grades |
|---|---|
| Initial Sketching | 4H, H |
| Detail Work | HB, B |
| Shading | 3B – 8B |
Proper pencil selection can make your work look like a Renaissance masterpiece rather than a preschool finger painting.
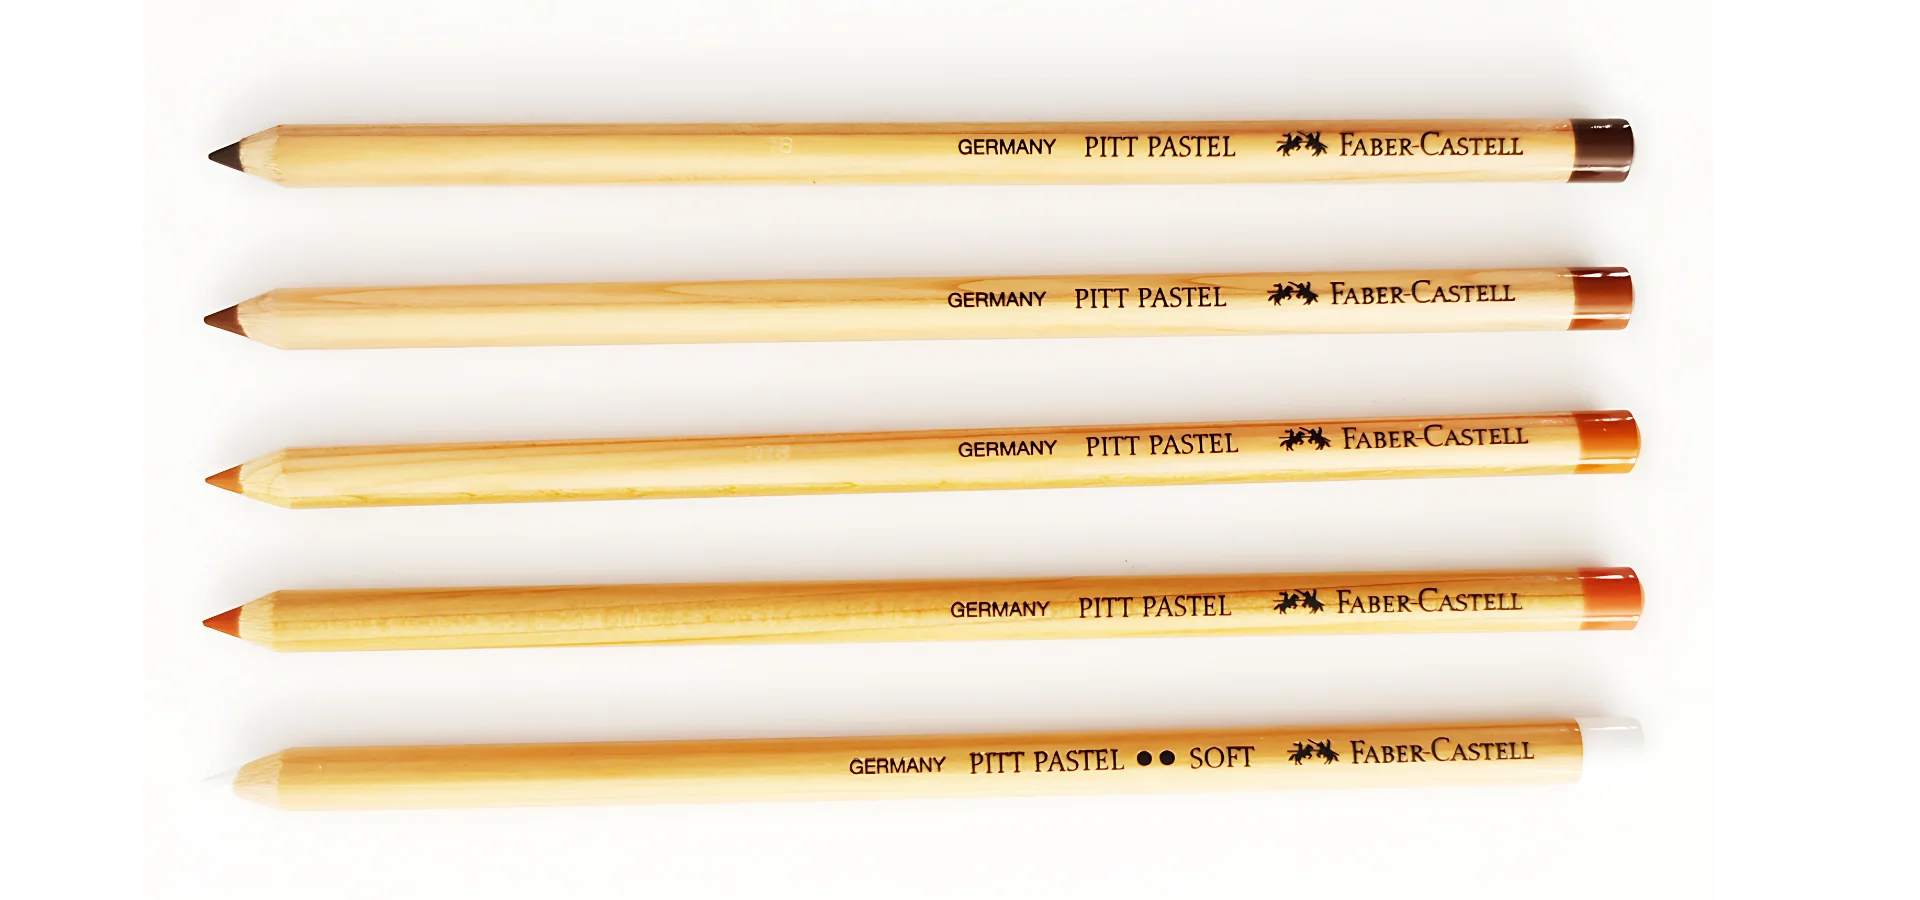
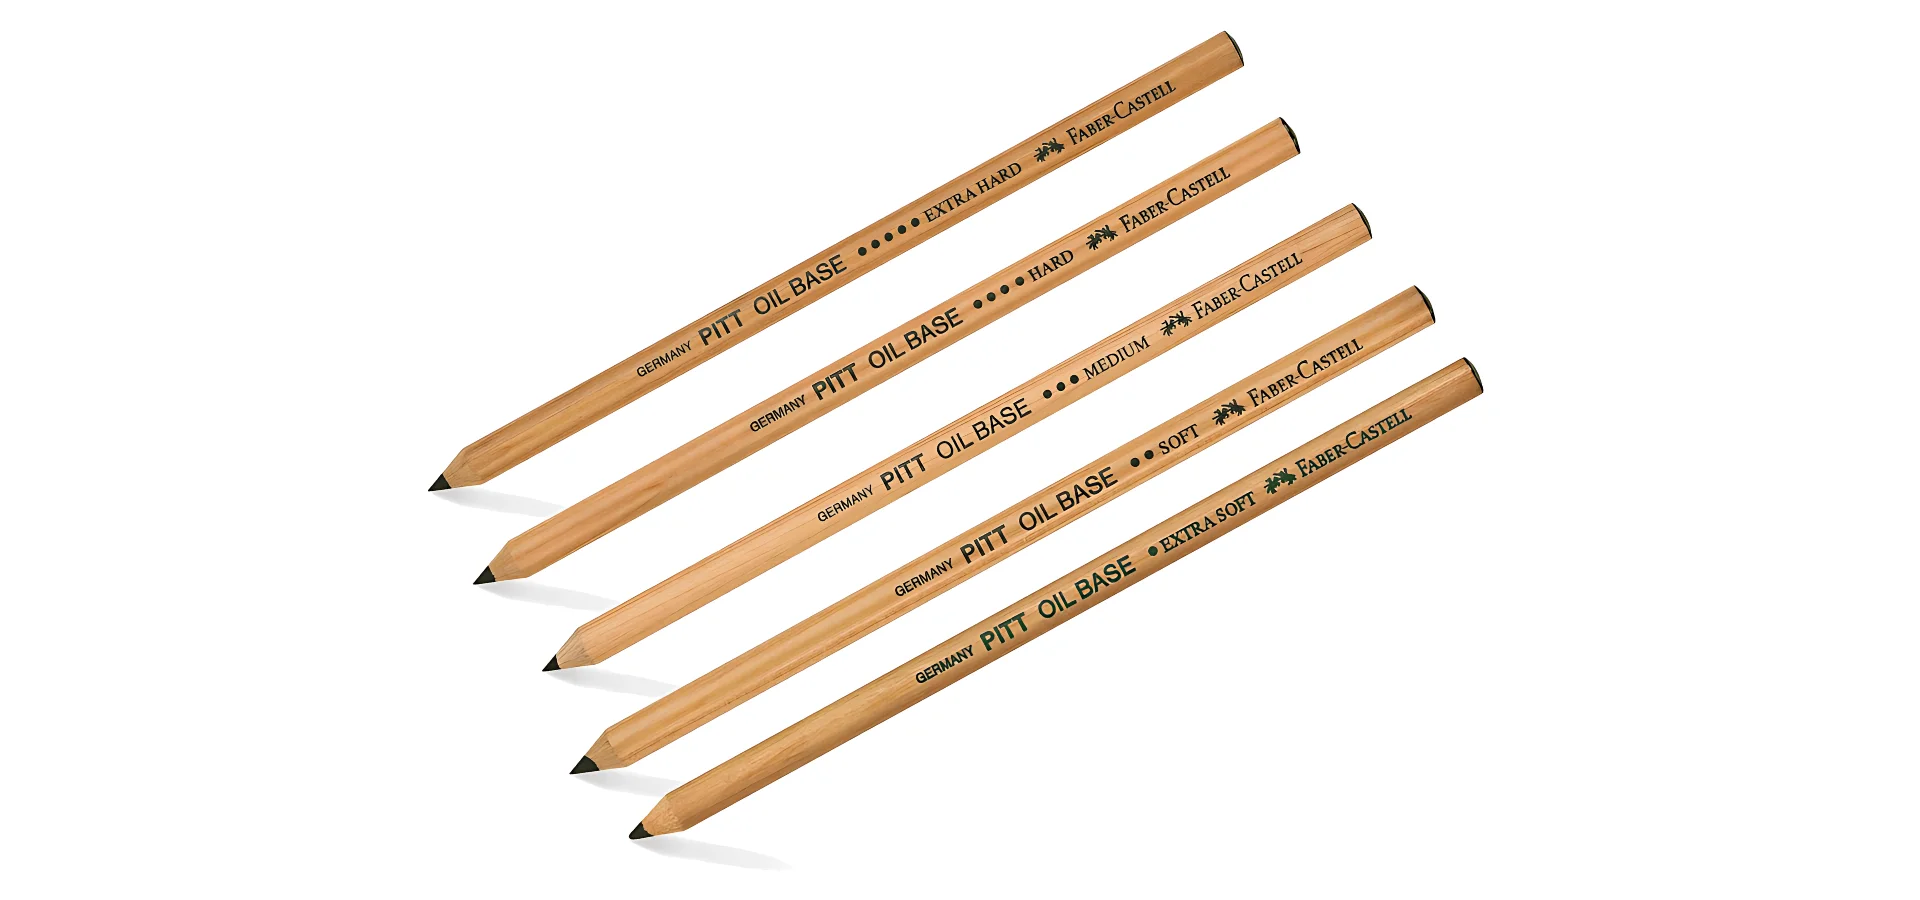
Selecting the right sketching pencil set can be a game-changer for artists. Among the myriad of brands available, Faber-Castell and Derwent stand out due to their high-quality offerings.
Faber-Castell is often lauded in the artistic community for their 9000 pencils. Here’s the scoop: these pencils are smooth, maintain consistency, smudge less than most pencils, sharpen easily, and hold their points well. They are also notoriously break-resistant, thanks to the leads being glued to the wood on both sides down the entire length of the pencil.
Faber-Castell’s ‘9000’ pencil range is ideal for artists, offering a variety of grades from 6H to 8B. These grades suit everything from light, detailed portraits to darker sketches. For those interested in exploring different graphite grades, a balanced range of 2H–2B is recommended to achieve a good balance of softness for quick drawings and smudge resistance for clean sketches. (Anna Bregman Portraits).
Derwent is another top-notch brand that commands attention. Their ‘Graphic’ pencils range from 9H to 9B, which gives artists a wide spectrum to play with. These pencils are popular for their blending ability, but they do have a few quirks: they can be scratchy, uneven, and tend to break easily when sharpened (Anna Bregman Portraits).
While we’re at it, let’s give a nod to Staedtler’s Mars Lumograph pencils. These are not just another pretty face in the pencil aisle. Known for their smoothness, reliable shade darkening, and a grand range from 10H to 12B, they have become a go-to for mid-tone professional artists (Anna Bregman Portraits).
Choosing between these brands can feel like choosing between chocolate and… more chocolate. High-quality options like Faber-Castell and Derwent ensure that your sketching tools are as refined as your artistic talent.
Unleashing your inner doodler just got easier with these top tips for sketching success. So, grab your sketching pencil set and let’s get started!
Keeping your pencil points razor-sharp is critical, whether you’re drawing a detailed masterpiece or just doodling a questionable self-portrait.
Below is a quick comparison of different sharpening methods:
| Method | Pros | Cons |
|---|---|---|
| Quality Sharpener | Consistent, quick sharpening | May need frequent replacing |
| Sandpaper | Precise, gentle on pencil | Requires manual effort |
| Manual Knife | Customisable, traditional | Higher risk of breakage |
Mastering the art of layering is like being the Bob Ross of sketching. Intricate and impressive without the need for majestic landscapes. Let’s dive into the nitty-gritty of pencil grades to add depth to your artwork.
Here’s a quick guide to pencil grades:
| Pencil Grade | Suitable For |
|---|---|
| H, 2H | Initial sketches, light lines |
| HB, B | General use, average shading |
| 2B, 4B | Dark shading, adding depth |
| 6B, higher | Darkest tones, bold details |
Remember, blending and layering can make all the difference, transforming your sketch from flat to fabulous. So, get those sketching pencil sets ready and let your creativity flow!
Ah, the joy of sketching on different surfaces! Choosing the right paper can be as pivotal as selecting your favorite sketching pencil sets. Not all sketching papers are created equal, and each surface offers a unique canvas for your artistic expressions. Whether you’re doodling on a smooth Bristol board or adding texture to a piece on watercolor paper, understanding these surfaces can elevate your artwork to new heights.
Different surfaces play well with different pencil grades. For instance, a smooth paper will allow for finer details with hard lead pencils, while a textured paper like watercolor or ingres papers can handle softer pencils (B grades) for that rich, dark shading (Curtisward). A piece of smooth Bristol board might scream for the finesse of a 3H pencil, whereas a rugged watercolor paper might yearn for the bold strokes of a 6B pencil.
| Paper Type | Recommended Pencil Grades |
|---|---|
| Smooth Paper | H to 9B |
| Rough Paper | B to 6B |
| Bristol Board | 2H to 3B |
| Watercolor Paper | 4B to 6B |
Experimentation is the name of the game. Mix it up! Try different combinations to find what works best for you. Just don’t get too carried away—you don’t want to be caught sketching on the kitchen table.
Ah, the eraser, a sketch artist’s best friend and biggest frenemy. Sure, you might start sketching that portrait of your cat only to realize you’ve given it three ears. Fear not—the right eraser can turn potential disaster into sheer masterpiece!
Erasers are not just for fixing mistakes; they can be tools for creative expression. Some artists employ erasers to lift graphite selectively, adding highlights and unique textures to their sketches (Curtisward). Different types of erasers serve different purposes, so keep your toolkit varied.
A cheeky scribble here, a swipe of an eraser there, and voila—you’ve created whimsical effects that no straight-line stickler could ever conjure. And let’s face it, whiskers on a kitten might need a touch-up every now and again.
Eddie’s top tip: Keep your erasers clean for the best results. A dirty eraser is like using a muddy rag to clean your glasses. No one likes that.
Embrace the versatility of your sketching tools. Try various pencil sets and understand that sometimes a smudge or a misplaced line adds character and depth to your work.
Remember, creativity thrives in an environment of trial and error. So don’t fret over a doodle gone awry—turn it into a happy accident instead.
Taking your sketching game to the next level involves mastering various techniques and tools. Here, we dive into how you can add depth to your work with different pencil grades and achieve unique effects using selective eraser techniques.
To achieve rich, dynamic sketches, it’s essential to play with different pencil grades. Your sketching pencil sets usually come with a range of graphite grades, each serving a unique purpose. Let’s break it down:
| Pencil Grade | Suggested Use |
|---|---|
| 2H to F | Light, erasable marks |
| HB to 2B | Mid-tone shading |
| 3B to 6B | Deep, bold shadows |
Mastering this layering technique allows you to give your artwork depth and dimension. If you’re looking for ways to maintain those sharp pencil points, check out our tips on maintaining sharp pencil points.
Erasers aren’t just for cleaning up mistakes. In the hands of a crafty artist, they can become tools for creative expression. Selective erasing can add unique effects to your sketches, giving them an intriguing twist.
Remember, there’s no single “right” method to create art; experimenting with different techniques and tools will help you discover what works best for you.